What they say-
A deep moisturizing treatment at a salon is a rather expensive service. On average the cost of this service is between $60 to $100. This depends greatly on the salon and the individual performing the treatment. Ironically, this is not a difficult task to perform.
 |
| Brilliant Blondes |
How to Moisturize Your Hair Like a Hair Salon Does:
Step 1: Wash your hair with a moisturizing shampoo. Clear Moisture shampoo is one option. This product adds moisture without making your hair greasy.
Step 2: Squirt a generous amount of conditioner into your hand. Cake as much conditioner into your hair as possible. Ensure that all of your hair is completely covered. Redken Clear Moisture conditioner works as well as the shampoo. But you can use any conditioner or shampoo you wish.
Step 3: Place a shower cap over your conditioner coated hair. Turn your hair dryer on low. Simply use the hair dryer to blow hot air onto the shower cap, like you would when blow drying your hair. Do this for at least thirty minutes.
Step 4: Rinse the conditioner out of your hair. Style your hair as desired.
(Ha!)
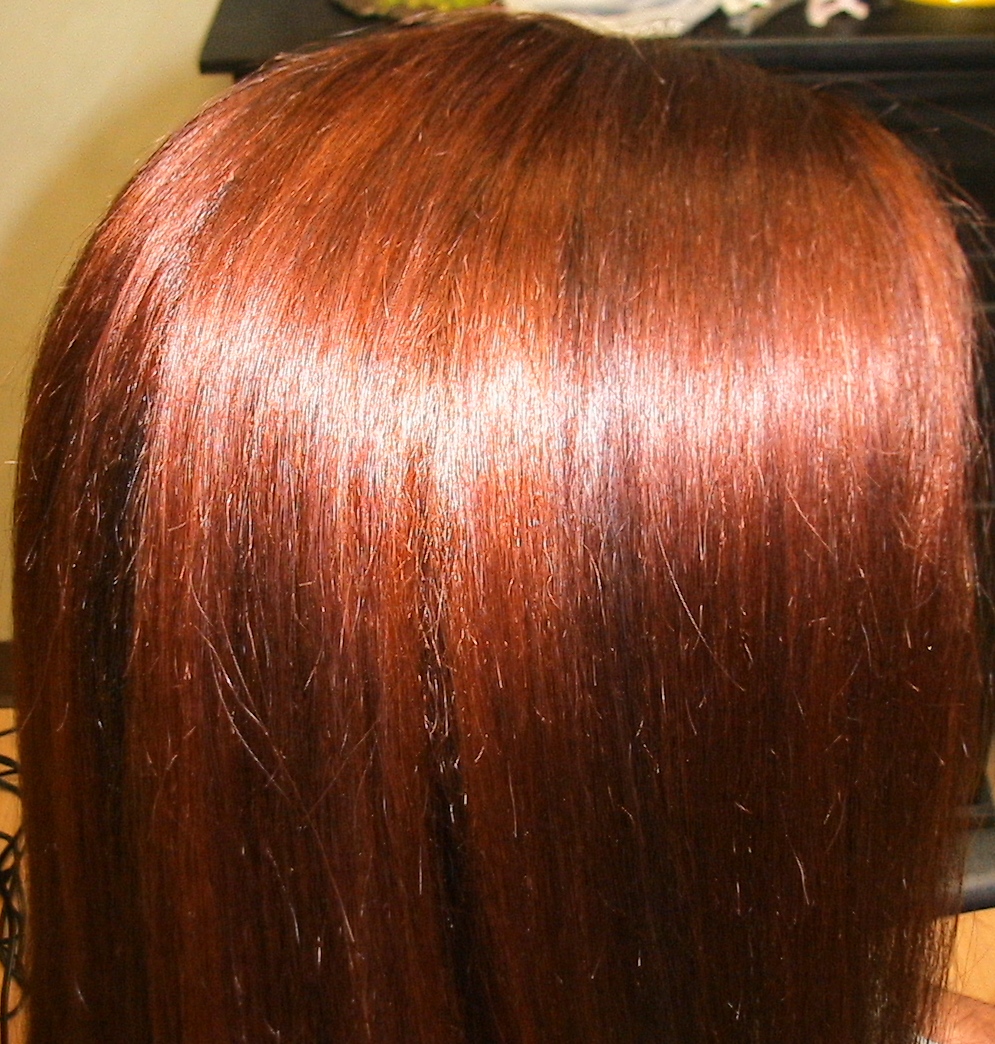 |
| Ravishing Reds |
The above procedure sounds okay, but in reality it does not "deep" condition the hair at all, but rather "coats" the outside layer without giving the interior any nutritive value or chemical re-bonding my true "Salon Deep Conditioning." (Note: Even some salons aren't giving you a "real" deep conditioning service. Be proactive! Check the knowledge of the hairdresser by asking questions!)
Here's the real deal-
The conditioner must be able to penetrate into the cortex layer to be deeply effective. The molecule size of a "conditioner" varies and a regular conditioner can not perform that function due to it's large and long molecular size that is designed to attach and seal the outside layer of the hair.
The hair must be prepared to accept the conditioner, ie: swollen with the "fish scale like" cuticle layer raised and open. Using a conditioning shampoo will actually fill the cuticle with molecules that prohibit the penetration of deep conditioning molecules.
 |
| Exquisite Ebony |
I use conditioners that are specifically designed to perform chemical changes in the cortex, or middle layer of the hair shaft. These conditioners are only available to a licensed cosmetologist because of the complexity of the chemical make-up and the unusually high pH that can actually damage the hair if used incorrectly.
While we all like to do things at home to "save money," sometimes you really do need the help of a true and knowledgeable hair professional to get the desired result. But if you want to get the best deep conditioning result at home you will need to do the following:
1. Use a clarifying shampoo, build into a lather and leave on for 5 minutes to raise the pH and open the cuticle.
2. Towel dry hair VERY WELL. Water will dilute the conditioner and change the pH and chemical makeup.
3. Apply a professional "Deep Penetrating Conditioner."
4. Place the towel you used to dry your hair and in the microwave for 2-3 minutes until hot. Carefully wrap the hot towel around your head and secure with a hair clip. Allow towel to cool completely!!!!
 |
| Dynamic Dimension |
5. Rinse your hair with "cool" water.
6. Treat as if a chemical treatment (ie: color or perm) and do not shampoo or get hair wet for at least 48 hours.
Repeating this procedure depends on the hair. Some examples are: course- every four weeks, very damaged- every week, colored- every color service and every haircut.
Hopefully this will clarify deep conditioning for you! When you have questions about your hair, skin or other beauty issues just email me! Sincerely, Tia


